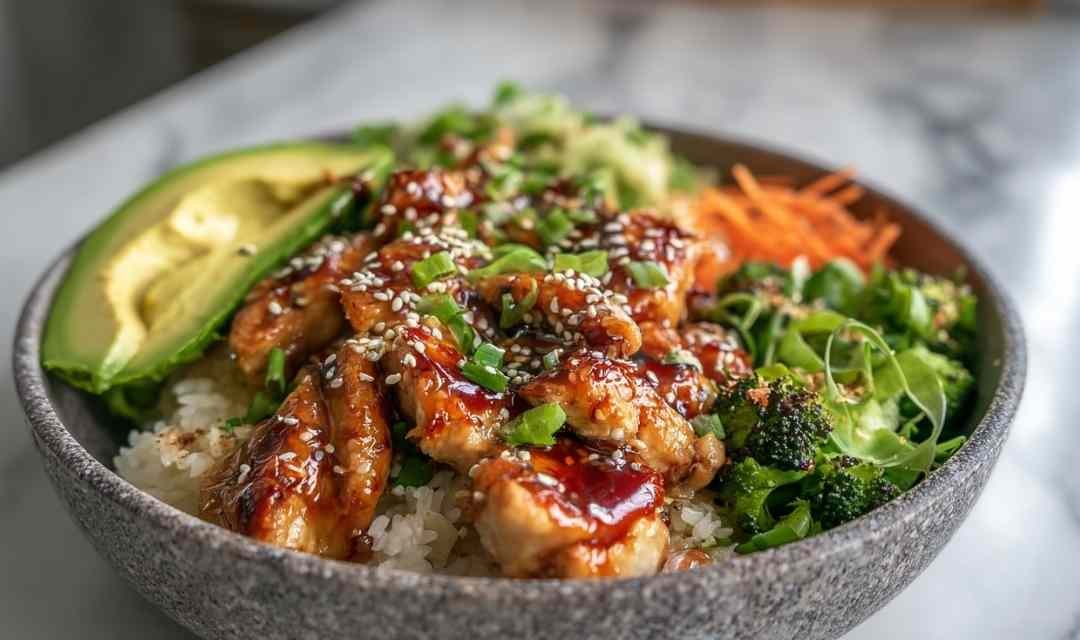
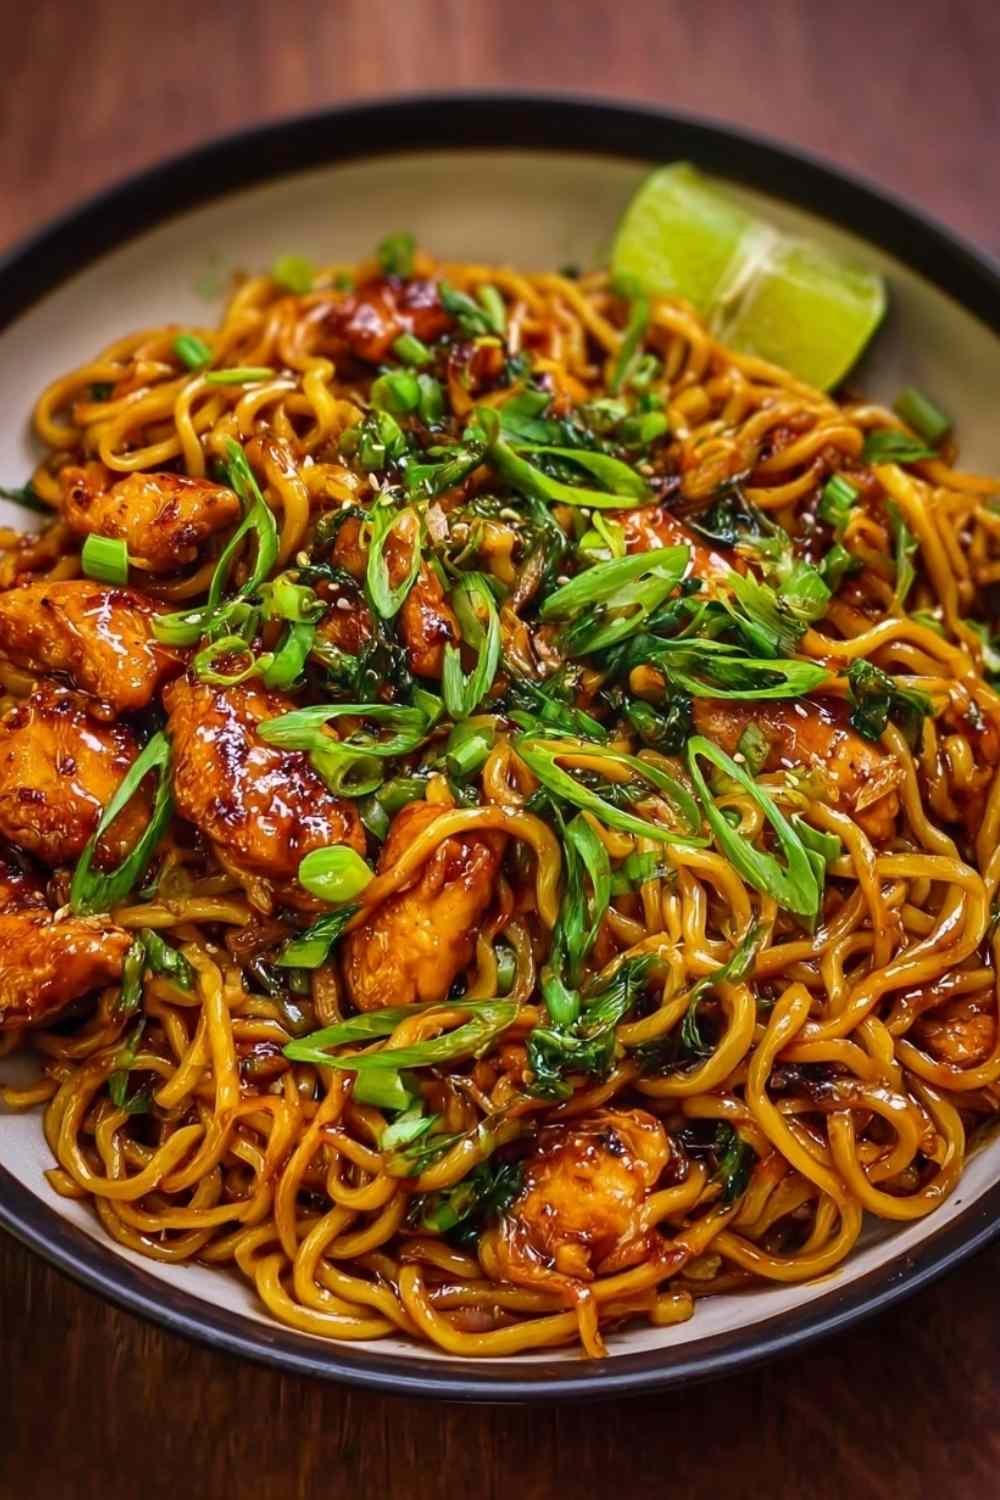
Sticky Garlic Chicken Noodles bring restaurant-quality flavor to your dinner table in just 20 minutes. This dish combines tender chicken bites with chewy noodles, all coated in a glossy, sweet-savory sauce that’ll have everyone asking for seconds.
I still remember the first time I made this recipe on a particularly chaotic Tuesday evening. Soccer practice ran late, and the kids were hungry. I was exhausted, and takeout felt like the only option. Then I realized I had everything needed for this dish sitting in my pantry and fridge. Twenty minutes later, we were digging into bowls of these sticky, flavorful noodles, and the takeout menu went straight back in the drawer. What makes this recipe truly special is how it delivers all that addictive garlic-honey flavor without any complicated techniques or hard-to-find ingredients. The sauce thickens beautifully, clinging to every strand of noodle and piece of chicken. It’s become my go-to solution for those nights when I want something satisfying and homemade without spending an hour at the stove. Plus, it’s flexible enough to work with whatever vegetables you have on hand. Let’s get started!
Table of Contents
Ingredients for Sticky Garlic Chicken Noodles
I always start by gathering everything before I begin cooking, which makes this recipe flow smoothly from start to finish. The ingredient list is straightforward, and chances are you already have most of these items in your kitchen. My preference is using chicken thighs for extra juiciness, though breast meat works beautifully too.
- 1 lb chicken breast or thighs (cut into bite-sized pieces)
- 1/4 cup soy sauce (I recommend low-sodium to control saltiness)
- 3 tbsp honey
- 4 garlic cloves (minced) – Fresh garlic makes all the difference here
- 1 tsp grated ginger (fresh ginger adds brightness, but ground works in a pinch)
- 1/2 tsp red chili flakes (optional, adjust to your heat preference)
- 2 tbsp cornstarch (this creates that signature sticky coating)
- 2 tbsp vegetable oil (or any neutral cooking oil you have)
- 8 oz noodles (rice noodles or egg noodles) – In my experience, fresh noodles give the best texture, though dried work perfectly
- 2 green onions (chopped)
- 1 tsp sesame seeds (optional, but they add a nice finishing touch)
Step-by-Step Instructions
I recommend reading through all the steps before starting so you can time everything perfectly. In my experience, having your sauce mixed and ready before cooking the chicken makes the whole process seamless.
Step 1: In a small bowl, whisk together the soy sauce, honey, minced garlic, grated ginger, and red chili flakes until well combined. Set this sauce aside where you can easily reach it during cooking.
Step 2: Place the chicken pieces in a medium bowl and toss with the cornstarch until each piece is evenly coated. This coating is what creates the sticky texture and helps the sauce cling beautifully.
Step 3: Heat the vegetable oil in a large skillet or wok over medium-high heat until it shimmers. Add the cornstarch-coated chicken in a single layer, avoiding overcrowding (cook in batches if needed). Cook for 6 to 8 minutes, turning occasionally, until golden brown on all sides and cooked through. The chicken should have a light golden crust and reach an internal temperature of 165°F. If the chicken starts sticking, give it another minute before trying to flip it.
Step 4: Pour the prepared sauce over the cooked chicken and stir to coat every piece. Let it simmer for 2 to 3 minutes, stirring frequently, until the sauce thickens and becomes glossy. You’ll know it’s ready when the sauce coats the back of a spoon and has reduced by about one-third.
Step 5: While the chicken cooks, prepare your noodles according to package directions. Drain them well and toss with a tiny drizzle of oil to prevent clumping.
Step 6: Add the cooked noodles directly to the skillet with the chicken and sauce. Using tongs, toss everything together until the noodles are completely coated and heated through, about 1 to 2 minutes.
Step 7: Remove from heat and garnish with chopped green onions and sesame seeds. Serve immediately while the sauce is still warm and sticky.

Perfect Pairings for Sticky Garlic Chicken Noodles
This dish is hearty enough to stand alone, but pairing it with complementary sides creates a more balanced and satisfying meal with varied textures and nutrients.
Steamed Broccoli: The mild, slightly bitter flavor of steamed broccoli cuts through the sweetness of the honey-garlic sauce while adding essential fiber and vitamins to your plate. For a similar creamy chicken dish with vegetables, try our protein-packed garlic cream chicken skillet.
Asian Cucumber Salad: A crisp, tangy cucumber salad with rice vinegar provides a refreshing contrast to the rich, sticky noodles and helps cleanse your palate between bites.
Stir-Fried Snap Peas: Quick-cooked snap peas with a splash of soy sauce add a satisfying crunch and vibrant green color that makes the meal more visually appealing and nutritionally complete.
Edamame: Lightly salted steamed edamame offers extra protein and a fun, hands-on element that kids especially enjoy, making it perfect for family dinners.
Simple Cabbage Slaw: A light cabbage slaw dressed with sesame oil and rice vinegar adds crunch and freshness while incorporating more vegetables without feeling heavy.
Keeping It Fresh: Storage and Reheating
Store any leftovers in an airtight container in the refrigerator for up to three days. Make sure to let the dish cool to room temperature before covering and refrigerating to prevent condensation. The flavors often deepen overnight, making day-two lunches even more delicious.
When reheating, I recommend using a skillet over medium heat rather than the microwave. Add 1 to 2 tablespoons of water to help loosen the sauce, and stir frequently until heated through. This method helps maintain the texture of the noodles and prevents them from drying out.
This recipe is wonderfully versatile for meal prep. You can cook the chicken and sauce ahead of time, then toss with freshly cooked noodles when ready to serve. If you’re planning to make it in advance, slightly undercook the noodles initially so they don’t become mushy when reheated. For more high-protein weeknight dinner ideas, check out our high-protein turkey pasta with ricotta.
FAQs
Can I make this dish gluten-free?
Absolutely! Simply substitute tamari for regular soy sauce and use rice noodles or another gluten-free noodle variety. The taste and texture remain just as delicious.
What’s the best way to prevent the noodles from sticking together?
Toss the cooked, drained noodles with a small amount of oil immediately after draining. This creates a light coating that prevents clumping while you finish preparing the chicken and sauce. Don’t skip this step, especially if you’re using egg noodles.
Can I add vegetables directly to this recipe?
Yes! Bell peppers, broccoli florets, or snap peas work wonderfully. Add heartier vegetables like broccoli when you start cooking the chicken, and toss in quicker-cooking vegetables like bell peppers during the last few minutes of cooking the chicken.
Sticky Garlic Chicken Noodles
Ingredients
Equipment
Method
- In a small bowl, whisk together soy sauce, honey, minced garlic, grated ginger, and red chili flakes until well combined. Set aside.
- Place chicken pieces in a medium bowl and toss with cornstarch until evenly coated.
- Heat vegetable oil in a large skillet or wok over medium-high heat. Add chicken in a single layer, avoiding overcrowding, and cook for 6 to 8 minutes, turning occasionally, until golden brown and cooked through to 165°F.
- Pour the prepared sauce over the cooked chicken and stir to coat. Let simmer for 2 to 3 minutes, stirring frequently, until sauce thickens and becomes glossy.
- While chicken cooks, prepare noodles according to package directions. Drain well and toss with a small drizzle of oil to prevent sticking.
- Add cooked noodles to the skillet with chicken and sauce. Toss everything together until noodles are completely coated and heated through, about 1 to 2 minutes.
- Remove from heat and garnish with chopped green onions and sesame seeds. Serve immediately.
Notes