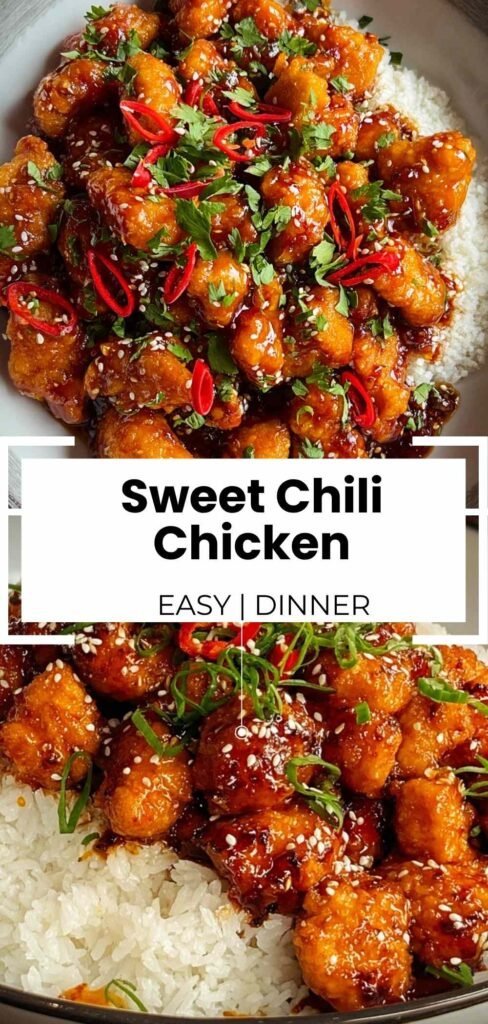
Sweet chili chicken is one of those recipes that transforms an ordinary weeknight into something special without demanding hours of your time. The perfect balance of sweet and spicy, with tender chicken pieces coated in a sticky glaze, makes this dish a family favorite that rivals any takeout.
Table of Contents
Ingredients for Sweet Chili Chicken
I always start with quality chicken breasts because they cook evenly and stay tender when cut into bite-sized pieces. My go-to sweet chili sauce brand makes a huge difference in the final flavor, though homemade works beautifully if you have extra time. Here’s everything you’ll need for this crowd-pleasing dinner:
- 1.5 to 2 pounds boneless, skinless chicken breasts (cut into 1-inch pieces)
- 1 cup sweet chili sauce (store-bought or homemade) – I recommend Mae Ploy brand for authentic flavor
- 2 tablespoons soy sauce
- 4 cloves garlic (minced) – Fresh garlic is essential here; don’t substitute garlic powder
- 1 tablespoon fresh ginger (minced) – In my experience, fresh ginger creates the best flavor profile
- 2 tablespoons vegetable oil
- ¼ cup cornstarch – I usually add a pinch of salt and pepper to this for extra seasoning
- Salt and pepper to taste
- 2 green onions (sliced, for garnish)
- 1 tablespoon sesame seeds (for garnish) – Pro tip: toast these lightly in a dry pan for enhanced nutty flavor
- Jasmine rice or noodles (for serving)
Step-by-Step Instructions
I recommend marinating the chicken for at least 30 minutes to really let those flavors penetrate the meat, though 2 hours gives you restaurant-quality results. In my experience, even a 15-minute marinade makes a noticeable difference if you’re pressed for time.
Step 1: Cut your chicken breasts into uniform 1-inch cubes so they cook evenly. In a mixing bowl, whisk together the sweet chili sauce, soy sauce, minced garlic, and fresh ginger until well combined. Add the chicken pieces and toss to coat thoroughly. Cover and refrigerate for at least 30 minutes, or up to 2 hours for maximum flavor absorption.
Step 2: While the chicken marinates, prepare your cornstarch coating by placing it in a shallow bowl and seasoning lightly with salt and pepper. This coating creates that irresistible crispy exterior that holds the glaze beautifully.
Step 3: Remove the marinated chicken from the refrigerator and reserve all the marinade for later (we’ll use it for the glaze). Using a slotted spoon, transfer chicken pieces to the cornstarch bowl, allowing excess marinade to drip off first. Toss each piece until evenly coated, shaking off any excess cornstarch to prevent clumping.
Step 4: Heat vegetable oil in a large skillet or wok over medium-high heat until it shimmers but doesn’t smoke (around 350°F if using a thermometer). Add the coated chicken in a single layer without overcrowding, which would lower the oil temperature and make them soggy rather than crispy. Work in batches if needed. Cook for 4-5 minutes per side until golden brown and the internal temperature reaches 165°F. You’ll know they’re ready when the coating turns a beautiful golden color and feels crispy when tapped with your spatula.
Step 5: Transfer cooked chicken to a paper towel-lined plate to drain excess oil. In the same skillet, reduce heat to medium and pour in the reserved marinade. This is important: bring it to a full rolling boil for at least 2 minutes since it contacted raw chicken, then let it simmer until it reduces and thickens to a syrupy consistency, about 3-4 minutes total. The sauce should coat the back of a spoon when ready.
Step 6: Return all the fried chicken to the skillet with the simmering sauce. Toss gently but thoroughly using tongs, ensuring every piece gets coated in that beautiful glaze. Cook for 2-3 minutes more, allowing the flavors to meld together and the sauce to cling to each piece. Taste and adjust seasoning – add a drizzle of sriracha if you want extra heat.
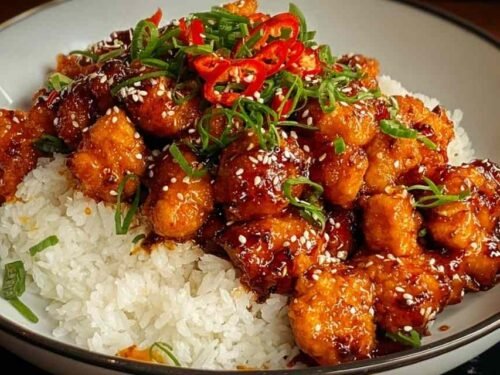
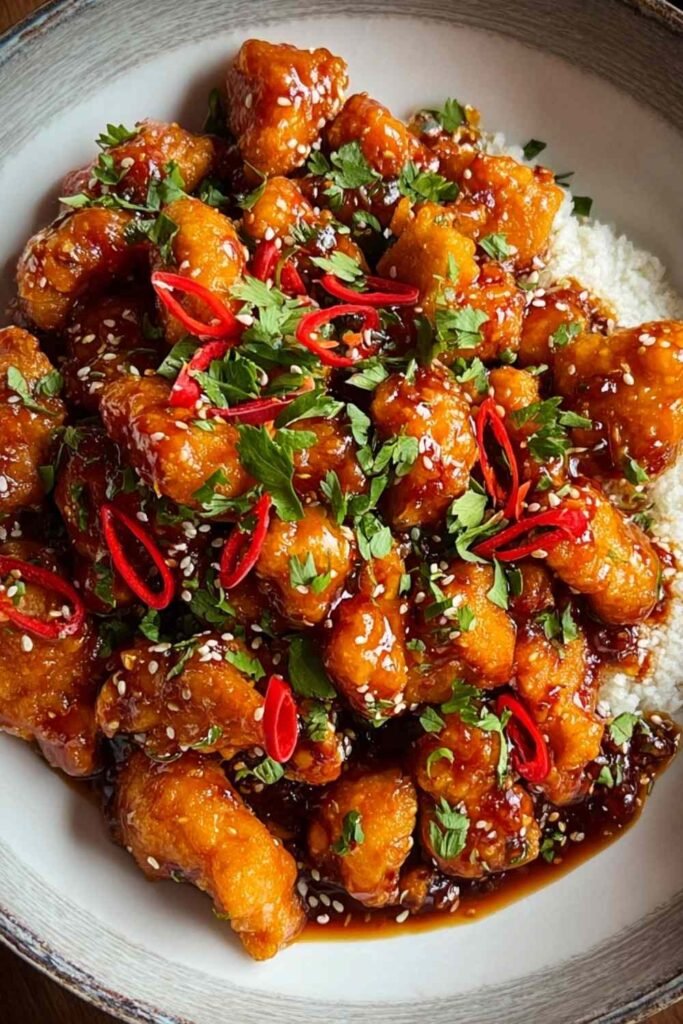
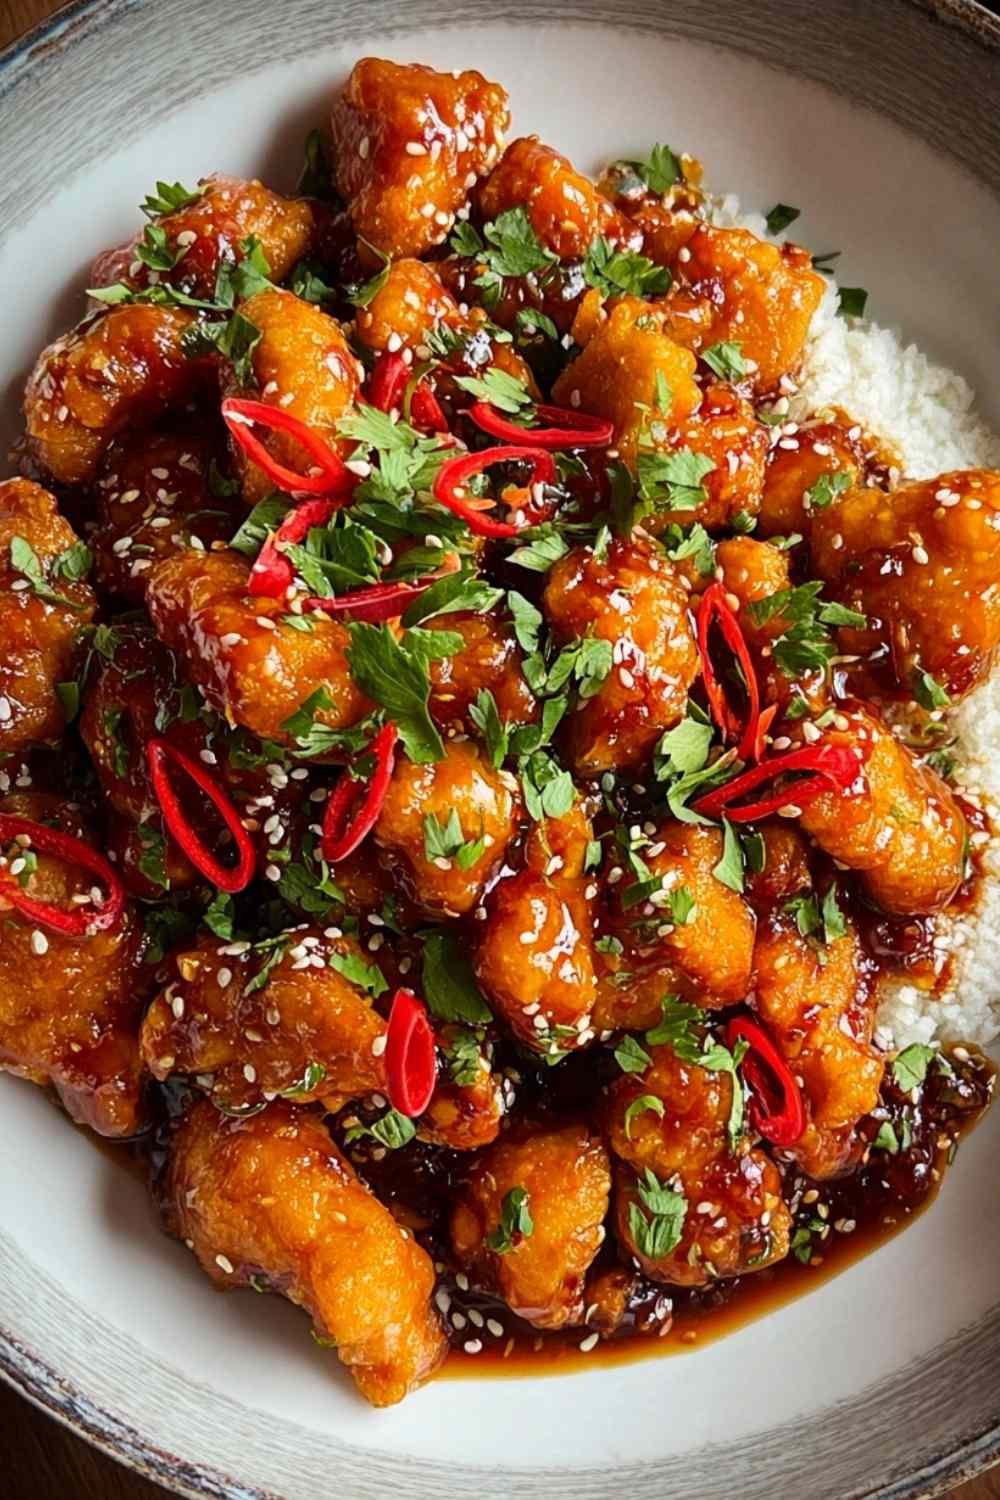
Step 7: Transfer the glazed chicken to your serving platter using a slotted spoon or tongs, sprinkle with sliced green onions and toasted sesame seeds, and serve immediately while it’s hot and glossy.
Perfect Pairings for Sweet Chili Chicken
This sweet and spicy dish pairs beautifully with sides that balance the bold flavors and add fresh contrast.
Jasmine Rice: The fragrant, slightly sticky texture of jasmine rice is perfect for soaking up that incredible sweet chili glaze. The neutral flavor lets the chicken shine while providing satisfying substance to make this a complete meal.
Chicken with Mixed Vegetable Stir Fry: Serve crisp stir-fried vegetables alongside for nutritional balance and textural contrast. The crunch complements the tender chicken while adding vibrant color to your plate.
Asian Cucumber Salad: Cool, crisp cucumbers tossed with rice vinegar and a hint of sesame oil provide a refreshing counterpoint to the rich, sticky glaze. This light side helps cleanse the palate between bites.
Thai Drunken Noodles: For a heartier meal, serve alongside these flavorful Thai noodles. The combination creates a restaurant-style feast that’s perfect for weekend dinners or when you’re feeding a crowd.
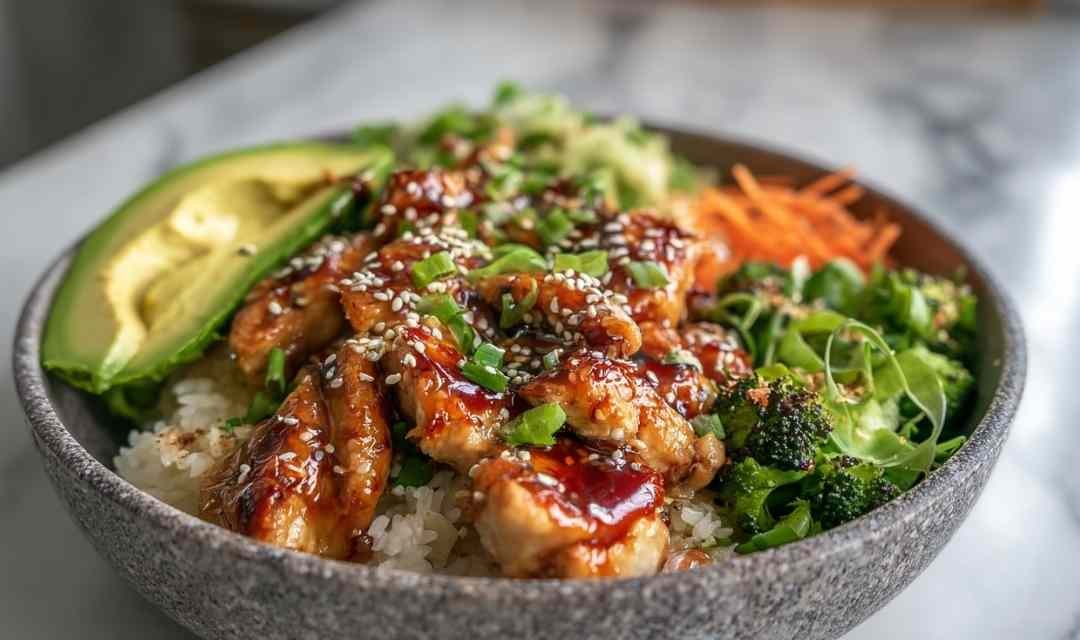
Street Corn Chicken Rice Bowl: Take inspiration from this bowl-style serving method and create your own Asian-inspired rice bowl with the sweet chili chicken as the star protein. Layer over rice with fresh vegetables for a complete one-bowl meal.
Spring Rolls: Starting your meal with crispy spring rolls creates a restaurant-style experience at home. The crunchy wrapper and fresh vegetables inside complement the main dish beautifully for special occasions.
Storage & Serving Tips
Store leftover sweet chili chicken in an airtight container in the refrigerator for up to 3-4 days. For longer storage, freeze in freezer-safe containers for up to 2 months, though the texture is best when enjoyed fresh. Thaw overnight in the refrigerator before reheating.
When reheating, add a splash of water or chicken broth to the pan and cover with a lid. Heat over low to medium heat, stirring gently to prevent the coating from getting soggy. This method helps retain moisture and keeps the chicken tender rather than dried out. I usually reheat it in a skillet over medium-low heat for about 5 minutes, which brings back that fresh-cooked texture better than the microwave.
This recipe is incredibly versatile for meal prep. Make a double batch on Sunday and use it throughout the week over different bases. Try it over Korean ground beef bowl style rice on Monday, with sticky garlic chicken noodles on Wednesday, or in lettuce wraps on Friday. The glaze also works beautifully with shrimp or tofu if you want to switch up the protein.
FAQs
Can I make this recipe less spicy for kids?
Absolutely! Use only sweet chili sauce without adding sriracha, and the dish will be mild with just a hint of warmth. Most kids love the sweet flavor, and you can always serve hot sauce on the side for adults who want extra heat.
What’s the best substitute if I don’t have cornstarch?
All-purpose flour works as a substitute, though cornstarch creates a lighter, crispier coating. Use the same amount of flour and expect a slightly thicker texture. For gluten-free options, try potato starch or arrowroot powder.
Can I bake this chicken instead of frying?
Yes! Arrange the coated chicken on a parchment-lined baking sheet, spray lightly with cooking oil, and bake at 425°F for 20-25 minutes, flipping halfway through. Then toss with the simmered glaze. It won’t be quite as crispy but still delicious and healthier.
Sweet Chili Chicken
Ingredients
Equipment
Method
- Cut chicken breasts into uniform 1-inch cubes. In a mixing bowl, combine sweet chili sauce, soy sauce, minced garlic, and minced ginger. Add chicken pieces, toss to coat, cover and refrigerate for at least 30 minutes, or up to 2 hours for maximum flavor.
- Place cornstarch in a shallow bowl and season lightly with salt and pepper. Remove marinated chicken from refrigerator, reserving all the marinade. Using a slotted spoon, transfer chicken to cornstarch bowl, allowing excess marinade to drip off. Coat each piece evenly.
- Heat vegetable oil in a large skillet or wok over medium-high heat until shimmering (around 350°F). Add coated chicken in a single layer without overcrowding. Cook for 4-5 minutes per side until golden brown and internal temperature reaches 165°F. Work in batches if necessary.
- Transfer cooked chicken to a paper towel-lined plate. In the same skillet, reduce heat to medium and add reserved marinade. Bring to a full rolling boil for at least 2 minutes, then simmer until thickened to a syrupy consistency, about 3-4 minutes total.
- Return fried chicken to the skillet with simmering sauce. Toss gently using tongs to coat every piece thoroughly. Cook for 2-3 minutes more, allowing flavors to meld. Taste and adjust seasoning as needed.
- Transfer glazed chicken to serving platter using tongs or slotted spoon. Sprinkle with sliced green onions and toasted sesame seeds. Serve immediately over jasmine rice or noodles.
Notes


")