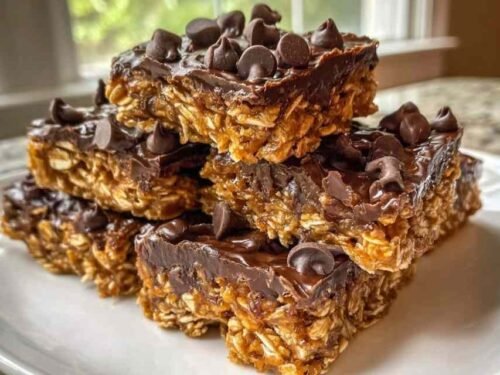
Homemade protein bars are one of those snacks I keep coming back to, week after week. Five simple ingredients, zero oven time, and a result that genuinely tastes like something you would reach for on purpose. I made my first batch on a Sunday evening with my kids watching, and we had them gone by Thursday.
These no-bake homemade protein bars check every box for a busy week. They are chewy, chocolatey, filling, and take about ten minutes of actual hands-on work. If you have been buying overpriced bars at the store, this recipe will change that habit fast.
Get ready for something delicious!
Table of Contents
Ingredients for Homemade Protein Bars
I have tested these bars with several different combinations, and this lineup gives the most consistent, satisfying result every time. The quality of your peanut butter and protein powder really does matter here, so choose ones you already enjoy eating on their own.
- 1 cup rolled oats (old-fashioned oats, not quick oats, for the best chewy texture)
- ½ cup natural peanut butter (I always use a drippy, stir-required variety for the smoothest dough)
- ½ cup protein powder, vanilla or unflavored (I recommend a powder you already enjoy the taste of since it drives the whole flavor)
- ¼ cup honey or maple syrup (my preference is raw honey for depth, but maple syrup works perfectly for a vegan version)
- ¼ cup dark chocolate chips, for topping (optional, but in my experience this step is absolutely worth the extra two minutes)
Step-by-Step Instructions
I recommend reading through all the steps before you start. These homemade protein bars move fast once you begin, and having everything measured and ready makes the process completely stress-free.
Step 1: Line an 8×8 inch baking pan with parchment paper. Leave a generous overhang on at least two sides so you can lift the full block out cleanly after chilling.
Step 2: Add the rolled oats, protein powder, and peanut butter to a medium mixing bowl. Stir together until the peanut butter begins to coat the oats and powder evenly.
Step 3: Pour in the honey or maple syrup and continue mixing. The dough will be thick and sticky. If it feels too dry to hold together when pressed, add one teaspoon of water or milk at a time until it comes together without crumbling.
Step 4: Transfer the dough to the prepared pan. Use the flat bottom of a measuring cup to press it down firmly and evenly across the entire surface. Pack it tightly. This is the step that prevents crumbly bars, so do not rush it.
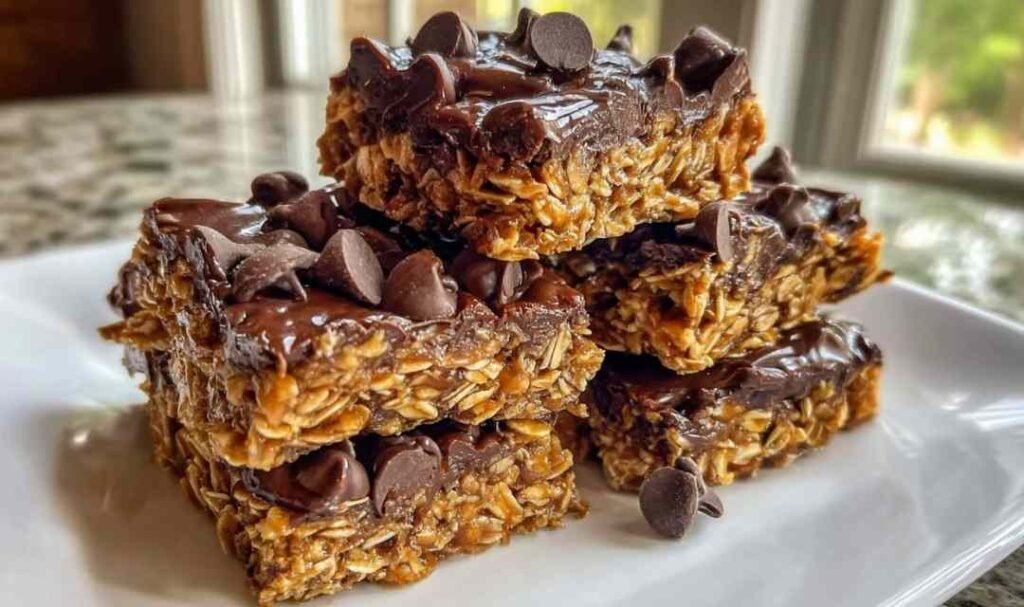
Step 5: If adding chocolate, melt the dark chocolate chips in a microwave-safe bowl in 30-second intervals, stirring between each until fully smooth. Pour over the pressed dough and spread quickly with a spatula before it sets.
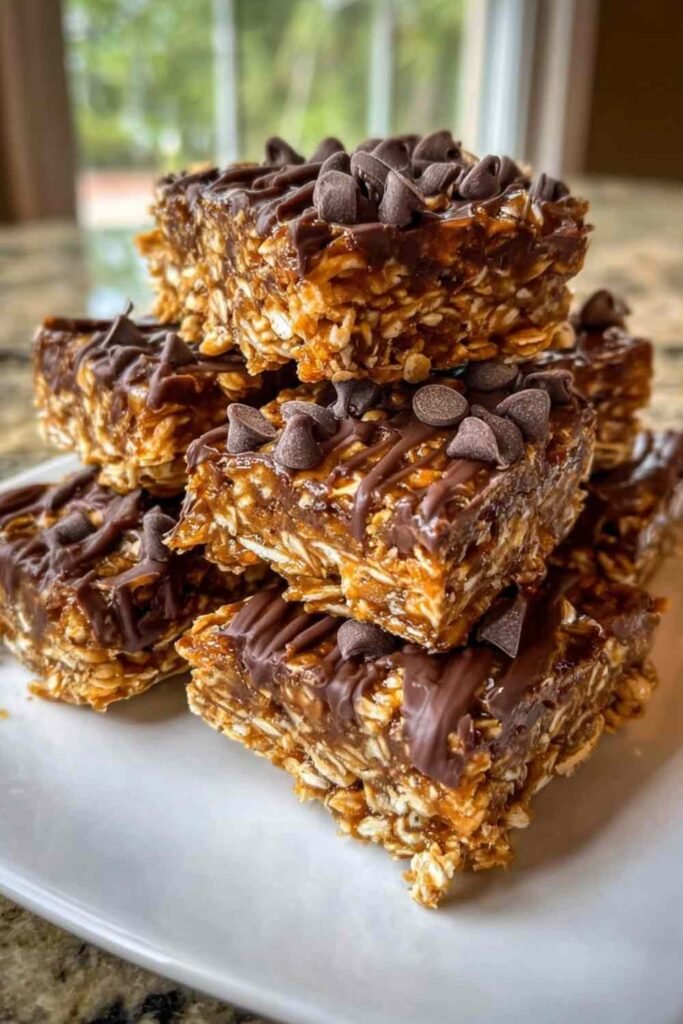
Step 6: Place the pan in the refrigerator and chill for a full hour. Do not try to cut them early. Once firm, lift the block out using the parchment overhang and slice into 10 to 12 equal bars using a sharp knife run briefly under hot water for clean edges.
What to Serve with Your Homemade Protein Bars
These bars work beautifully as a standalone snack, but pairing them with the right foods turns them into a complete, balanced meal or a powerful pre-workout setup.
Greek Yogurt: A small bowl of plain Greek yogurt adds extra protein and probiotics alongside a bar, making it a satisfying breakfast or post-workout combo that keeps you full for hours.
Fresh Fruit: Sliced banana, strawberries, or blueberries add natural vitamins and a fresh contrast to the richness of the peanut butter base. It is a simple pairing that feels intentional.
High Protein Chicken Orzo: If you are planning these bars as part of a meal prep week, pairing them with a satisfying dinner like this High Protein Chicken Orzo keeps your whole day balanced and fueled.
High Protein Pancake Bowl: For a full high-protein breakfast spread, serve a bar alongside this High Protein Pancake Bowl for a meal prep morning that actually excites you.
Kale Chickpea Quinoa Salad: For a light and balanced lunch, pair your bar with this nutrient-dense Kale Chickpea Quinoa Salad for a full plant-based meal.
Black Coffee or Cold Brew: The slight bitterness of coffee cuts through the sweetness of the bar perfectly and makes for a quick, energizing morning that needs zero cooking.
Storage and Serving Tips
Once sliced, store your homemade protein bars in an airtight container in the refrigerator for up to one week. Place a piece of parchment paper between layers to keep them from sticking together as they sit.
For longer storage, freeze the bars in a zip-lock freezer bag with parchment between each one. They keep well for up to two months and thaw at room temperature in about 15 minutes. I recommend labeling the bag with the date so you always know what you have on hand.
Serve them cold straight from the fridge for the firmest texture and cleanest bite. They also work well at room temperature if you prefer a slightly softer chew. Pro tip: pull one from the freezer on your way out the door and it will be perfectly ready to eat by the time you reach the gym or office.
Frequently Asked Questions
Can I use a flavored protein powder other than vanilla?
Yes. Chocolate, peanut butter, or unflavored all work well. Just keep in mind that a sweeter powder may need less honey or maple syrup, so taste your dough before pressing it into the pan and adjust accordingly.
Why did my bars fall apart when I cut them?
The most common reason is not enough chilling time or not pressing the dough firmly enough into the pan. Make sure you chill for the full hour and use real pressure when compacting the mixture. A warm knife also helps create cleaner cuts without breaking the bars apart.
Can I make these nut-free for school or work?
Absolutely. Swap the natural peanut butter for sunflower seed butter in the same amount. The texture and binding are nearly identical, and the flavor is mild enough that most people enjoy it just as much as the original version.
Conclusion
These homemade protein bars are proof that eating well does not require hours in the kitchen or a long ingredient list. Ten minutes of prep, one hour in the fridge, and you have a full week of clean, satisfying snacks ready to go. Make a batch this weekend and see how quickly they become a staple in your routine. Your body and your wallet will both thank you!

Easy No-Bake Homemade Protein Bars
Ingredients
Equipment
Method
- Line an 8×8 inch baking pan with parchment paper, leaving a generous overhang on at least two sides for easy removal after chilling.
- Add the rolled oats, protein powder, and peanut butter to a medium mixing bowl. Stir until the peanut butter begins to coat the oats and powder evenly.
- Pour in the honey or maple syrup and continue mixing until a thick, uniform dough forms. If the dough is too dry to hold together when pressed, add one teaspoon of water or milk at a time until it comes together.
- Transfer the dough to the prepared pan. Use the flat bottom of a measuring cup to press it down firmly and evenly across the entire surface. Pack it tightly to prevent crumbly bars.
- If adding chocolate, melt the dark chocolate chips in a microwave-safe bowl in 30-second intervals, stirring between each interval until fully smooth. Pour over the pressed dough and spread quickly with a spatula.
- Place the pan in the refrigerator and chill for a full hour until firm. Lift the block out using the parchment overhang and slice into 10 to 12 equal bars using a sharp knife run briefly under hot water for clean cuts.


")