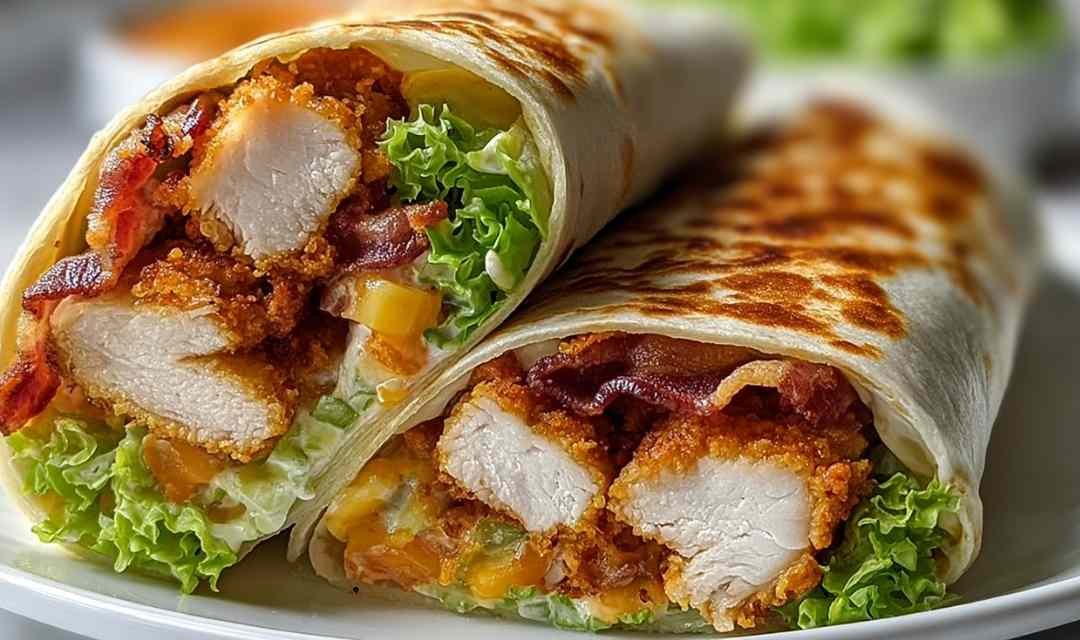
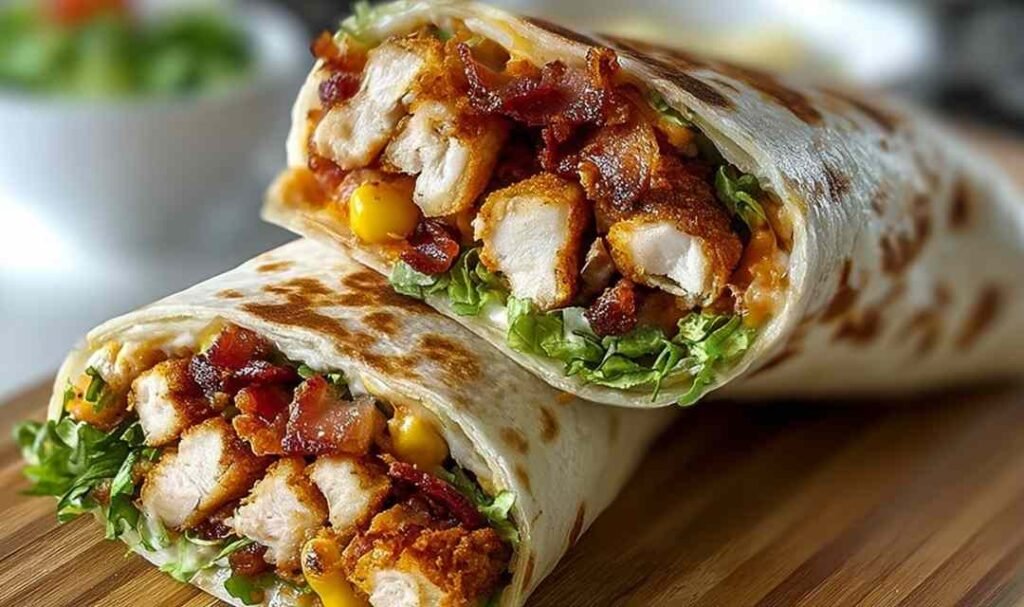
Crispy Chicken Bacon Wrap is the kind of dinner that earns a spot in your permanent weeknight rotation after the very first bite. Juicy chicken, a rich and creamy cheddar filling, and that golden crispy bacon crust make every single serving feel like a treat. I pulled this together on a busy school night and my kids were asking for seconds before I even sat down.
Table of Contents
Ingredients for Crispy Chicken Bacon Wrap
I always pick up thick-cut bacon for this recipe because it holds its shape during the sear and comes out with a satisfying crunch. Everything else is simple pantry and fridge staples you likely already have on hand.
- 4 boneless, skinless chicken breasts (pounded to an even 1/2-inch thickness)
- 8 slices of bacon – I recommend thick-cut for the best crispy results
- 1 cup shredded cheddar cheese (sharp cheddar gives the boldest flavor)
- 1/2 cup cream cheese, softened to room temperature – my preference is full-fat for a richer and creamier filling
- 1 tsp garlic powder
- 1 tsp onion powder
- 1 tsp smoked paprika – in my experience, smoked paprika adds a warmth and depth that regular paprika simply cannot match
- Salt and pepper to taste
- 1 tbsp olive oil
- Fresh parsley, chopped (for garnish)
Step-by-Step Instructions
I recommend preheating your oven before you even start prepping the chicken. Having it ready when the wraps come off the stovetop makes the whole process seamless and keeps the timing on track.
Step 1: Preheat your oven to 400°F so it is fully up to temperature before the wraps go in.
Step 2: Place the chicken breasts on a cutting board and pound them to a consistent 1/2-inch thickness using a meat mallet or rolling pin. This step is not optional. Uneven chicken means some parts cook through while others stay underdone.
Step 3: Mix the garlic powder, onion powder, smoked paprika, salt, and pepper in a small bowl. Rub the seasoning all over both sides of each chicken breast until well coated.
Step 4: In a medium bowl, mix the softened cream cheese and shredded cheddar together until smooth. Make sure the cream cheese is fully softened or it will be hard to spread evenly.
Step 5: Spread a generous but controlled spoonful of the cheese mixture over one side of each chicken breast. Leave a small border at the edges to prevent the filling from spilling out during cooking.
Step 6: Lay two slices of bacon side by side with a slight overlap. Place a chicken breast cheese-side up at one end and roll it up firmly in the bacon, tucking in the sides as you go. Secure with toothpicks if needed. Repeat for all four wraps.
Step 7: Heat the olive oil in a large oven-safe skillet over medium-high heat. Once the oil is hot and shimmering, place the wraps seam-side down. Sear for 3 to 4 minutes per side until the bacon is deep golden brown. Do not move the wraps around while they sear or the bacon will not crisp properly.
Step 8: Transfer the skillet directly to the preheated 400°F oven. Bake for 20 to 25 minutes until the chicken reaches an internal temperature of 165°F. Use a meat thermometer inserted into the thickest part to check. Do not rely on color alone.
Step 9: Remove from the oven and let the wraps rest for 5 full minutes before slicing. This keeps all the juices inside the chicken. Remove every toothpick, garnish with fresh parsley, and serve immediately.
Best Sides to Serve with Crispy Chicken Bacon Wrap
The richness of the cheese filling and crispy bacon calls for sides that bring either freshness, lightness, or a satisfying starchy complement to round out the meal.
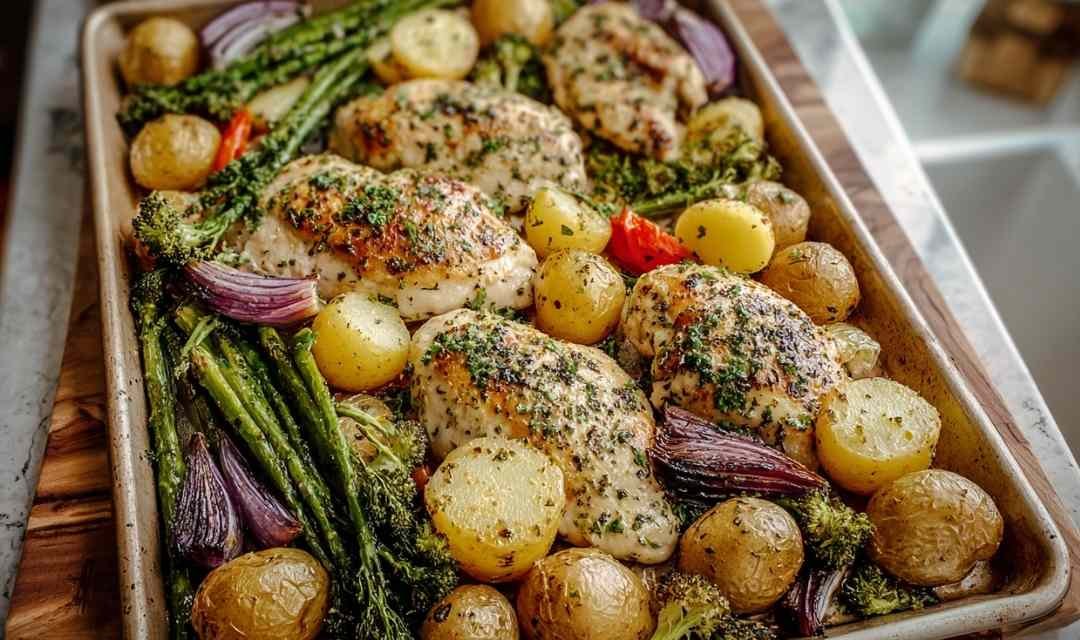
Garlic Herb Chicken with Mashed Potatoes: Creamy mashed potatoes are a natural pairing with any bacon and cheese dish. Check out this Garlic Herb Chicken with Mashed Potatoes for a foolproof mashed potato technique that works perfectly alongside these wraps.
Crispy Oven Baked Sweet Potato Fries: The light natural sweetness of sweet potato fries contrasts beautifully with the smoky savory bacon. These Crispy Oven Baked Sweet Potato Fries bake at the same 400°F temperature so they can go in the oven alongside your wraps.
Baked Garlic Parmesan Potato Wedges: For a heartier potato side, these Baked Garlic Parmesan Potato Wedges add a golden cheesy crust that echoes the flavors already in the wrap filling.
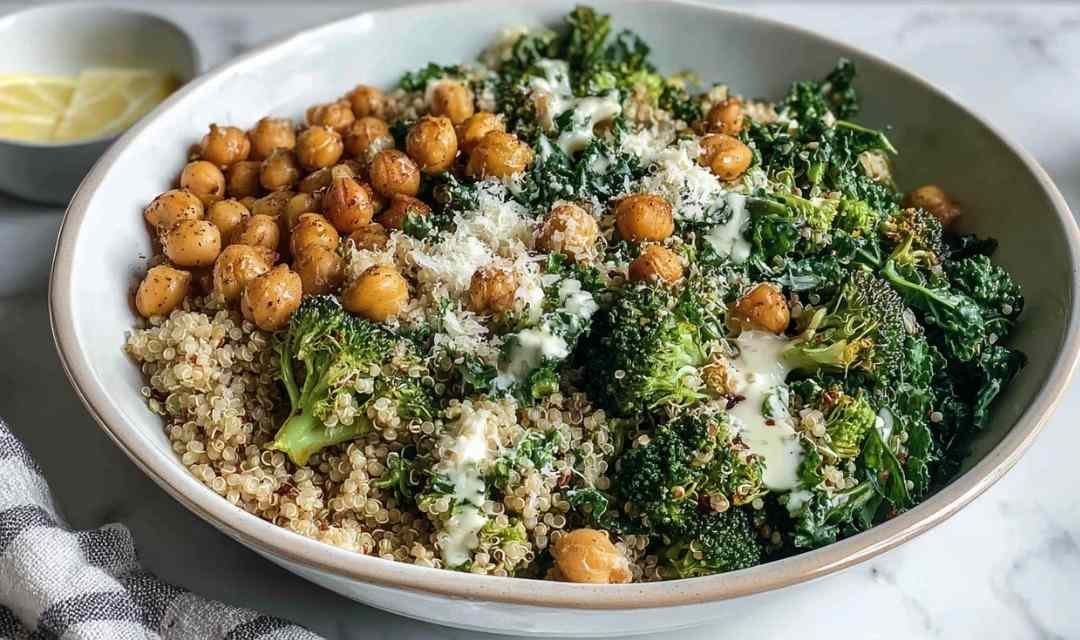
Healthy Sauteed Vegetables: A quick skillet of Healthy Sauteed Vegetables adds color and nutritional balance without any extra fuss. The light flavor keeps the chicken bacon wrap as the star of the plate.
Honey Glazed Carrots and Green Beans: The gentle sweetness of Honey Glazed Carrots and Green Beans cuts through the richness of the cream cheese filling and makes the whole plate feel more balanced and fresh.

How to Keep and Reheat Crispy Chicken Bacon Wrap
Store leftover Crispy Chicken Bacon Wraps in an airtight container in the refrigerator for up to 3 days. Let them cool down completely before sealing the container. Trapping steam inside is what makes the bacon go soft.
To reheat, I recommend placing them on a baking sheet in the oven at 350°F for 10 to 12 minutes. This brings the bacon back to crispy and warms the chicken through without drying it out. A microwave is faster but will soften the crust noticeably.
Pro tip: slice the wraps before storing so individual pieces reheat faster and you can easily portion them out for a quick next-day lunch straight from the fridge.
Frequently Asked Questions
Can I assemble these wraps ahead of time?
Yes. Assemble the wraps, cover them tightly with plastic wrap, and refrigerate for up to 24 hours before cooking. Take them out about 10 minutes before searing so they are not ice cold when they hit the pan.
My cheese filling is spilling out while cooking. What went wrong?
You likely overfilled or did not leave a border at the edges of the chicken. Spread the cheese mixture in a thin even layer and stop about 1/2 inch from the edges. Rolling the bacon tightly and securing with toothpicks also helps contain the filling during the sear.
How do I make sure the chicken is cooked through without cutting into it?
Use a meat thermometer inserted into the thickest part of the wrap. You are looking for 165°F. If you do not have a thermometer, bake for the full 25 minutes before checking and always err on the longer side rather than the shorter.

Crispy Chicken Bacon Wrap
Ingredients
Equipment
Method
- Preheat your oven to 400°F (200°C) before starting any prep.
- Place the chicken breasts on a cutting board and pound them to a consistent 1/2-inch thickness using a meat mallet or rolling pin.
- Mix garlic powder, onion powder, smoked paprika, salt, and pepper in a small bowl. Rub the seasoning all over both sides of each chicken breast until fully coated.
- In a medium bowl, mix the softened cream cheese and shredded cheddar together until completely smooth. Ensure cream cheese is fully softened before mixing.
- Spread a generous controlled spoonful of the cheese mixture over one side of each chicken breast, leaving a 1/2-inch border at the edges to prevent spillage.
- Lay two slices of bacon side by side with a slight overlap. Place a chicken breast cheese-side up at one end and roll it up firmly in the bacon, tucking in the sides as you go. Secure with toothpicks if needed. Repeat for all four wraps.
- Heat olive oil in a large oven-safe skillet over medium-high heat. Once hot and shimmering, place the wraps seam-side down. Sear for 3 to 4 minutes per side until the bacon is deep golden brown. Do not move the wraps while searing.
- Transfer the skillet directly to the preheated 400°F oven. Bake for 20 to 25 minutes until the chicken reaches an internal temperature of 165°F when checked with a meat thermometer at the thickest part.
- Remove from the oven and rest for 5 minutes before slicing. Remove all toothpicks, garnish with fresh chopped parsley, and serve immediately.


")