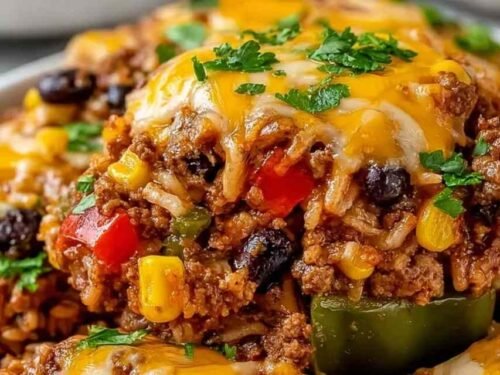
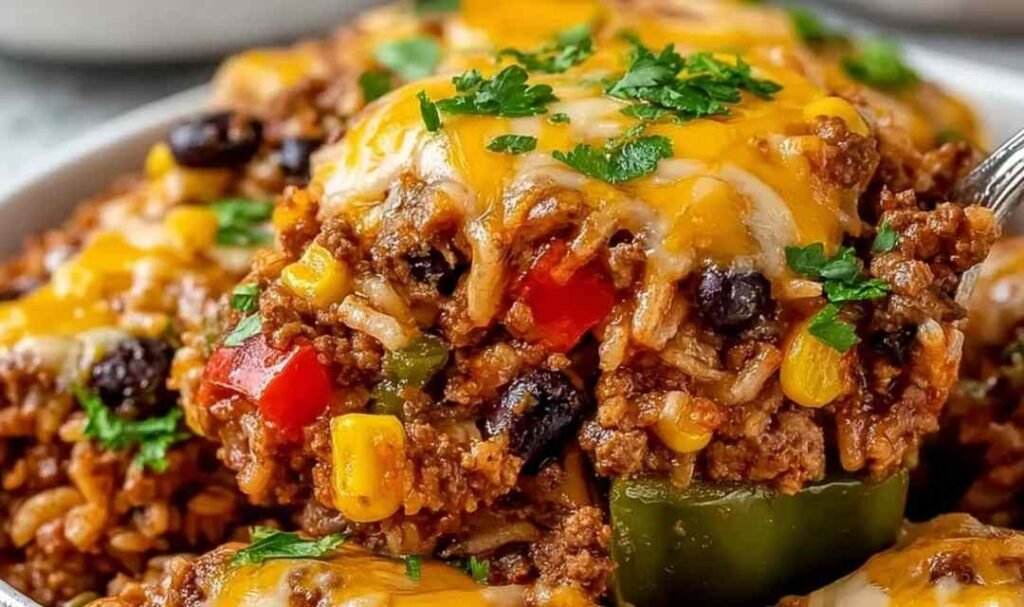
High Protein Unstuffed Peppers are everything you love about classic stuffed peppers, but without all the fuss of hollowing out and filling individual shells. Lean ground turkey or beef, colorful bell peppers, black beans, and rice all come together in one pan and bake under a layer of melted cheese in just 35 minutes. I make this on repeat during busy weeks and it never gets old.
Stuffed peppers were a staple in our house growing up, but as a working parent, I just do not have the time to carefully stuff each one on a Tuesday night. That is exactly why this version became my go-to solution. Same bold, comforting flavors, half the work, and enough servings to cover lunch the next day too.
This one is a keeper. Your family will thank you!
Table of Contents
Ingredients for High Protein Unstuffed Peppers
I always reach for lean ground turkey in this recipe because it keeps the dish light while still delivering a solid protein punch. That said, lean ground beef works just as well if that is what you have on hand. Either way, this is a flexible, forgiving recipe that comes together with simple ingredients.
Main Filling:
- 1 lb ground turkey or lean ground beef – I recommend 93% lean for the best balance of flavor and nutrition
- 1 cup cooked brown rice or quinoa – My preference is quinoa for extra protein and a naturally gluten-free base
- 1 green bell pepper, diced
- 1 red bell pepper, diced
- 1 small onion, diced
- 2 cloves garlic, minced – In my experience, fresh garlic cloves make a noticeable difference over garlic powder here
- 1 can (14.5 oz) diced tomatoes, drained thoroughly
- 1 cup black beans, drained and rinsed
- 1 cup corn, fresh, frozen, or canned
Spice Mix:
- 1 tsp chili powder
- 1 tsp ground cumin
- 1 tsp paprika
- 1/2 tsp salt
- 1/4 tsp black pepper
Topping:
- 1 cup shredded cheddar or cheese blend – Pro tip: grate your own from a block for the smoothest, most even melt
- Fresh parsley or cilantro for garnish
Step-by-Step Instructions
In my experience, draining the canned tomatoes completely before adding them is the single most important step in this recipe. Skip it and the filling turns watery, which means soggy cheese and a dish that does not hold together well on the plate.
Step 1: Preheat your oven to 375 degrees F with the rack in the center position.
Step 2: In a large skillet over medium-high heat, cook the ground turkey or beef for 5 to 7 minutes, breaking it into small crumbles with a wooden spoon until thoroughly browned with no pink remaining. Drain any excess fat from the pan before moving on.
Step 3: Reduce heat to medium. Add the diced onion and minced garlic to the skillet. Stir and cook for 3 to 4 minutes until the onion softens and turns translucent and the garlic smells fragrant. Watch the garlic closely so it does not burn and turn bitter.
Step 4: Stir in the diced green and red bell peppers and cook for another 5 minutes. You want them softened but still holding a slight crunch so they do not turn mushy during the bake.
Step 5: Add the cooked rice or quinoa, drained diced tomatoes, black beans, corn, and all the spices. Stir everything together well and cook for 2 to 3 more minutes so the flavors start to come together. Taste the filling here and adjust salt, cumin, or chili powder before it goes into the oven.
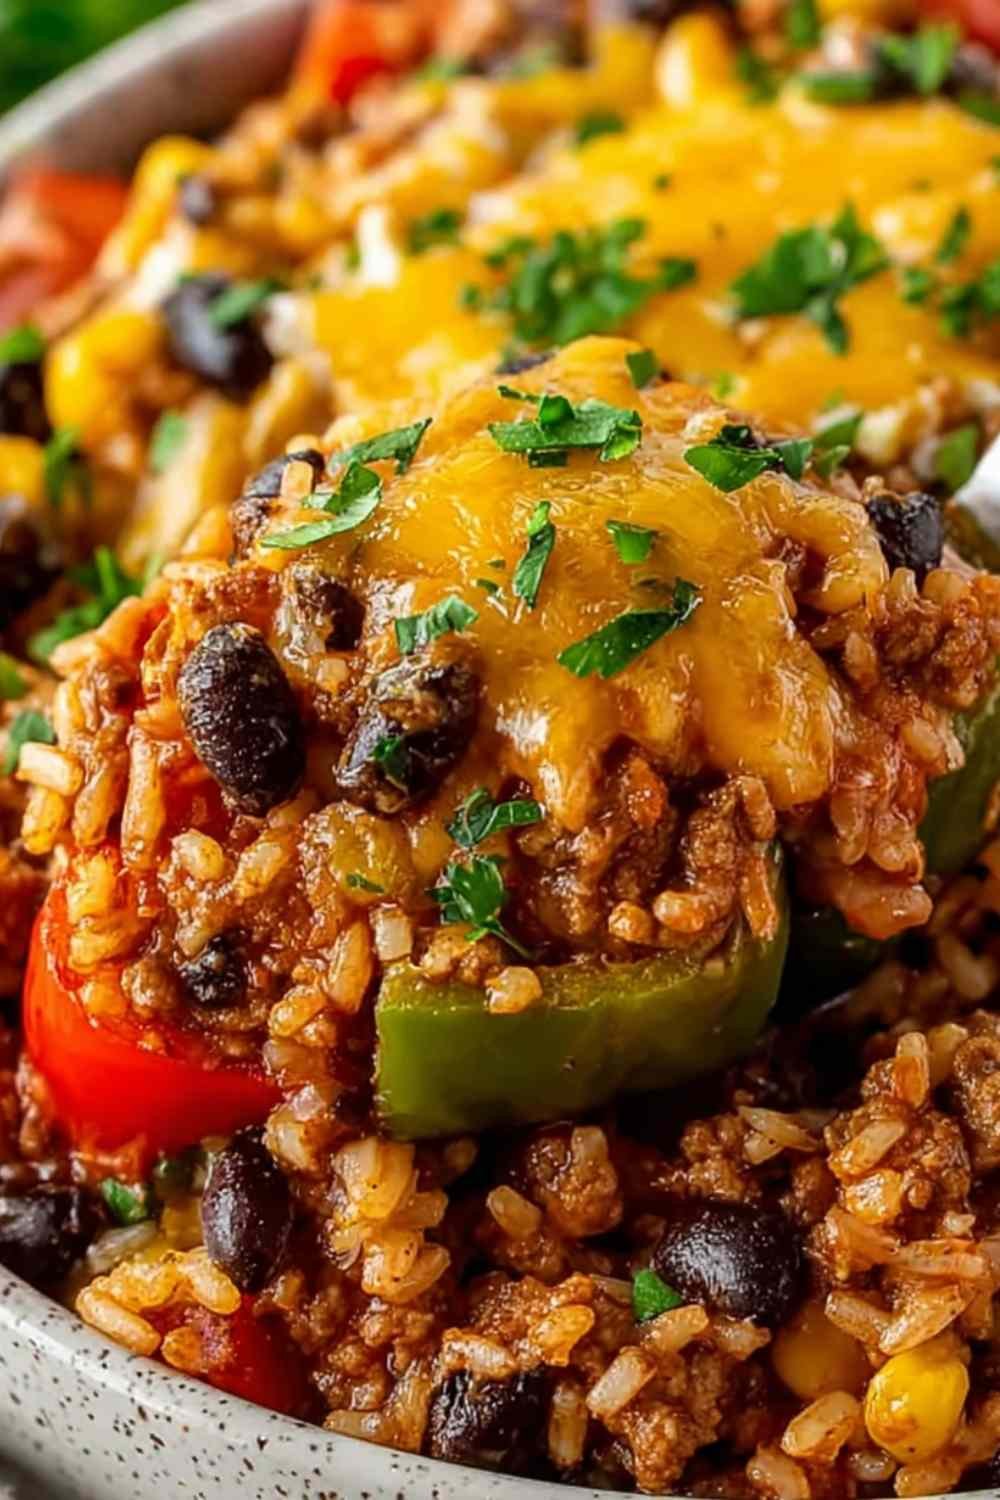
Step 6: Transfer the filling evenly into a baking dish or oven-safe skillet. Sprinkle the shredded cheese evenly over the top. Bake uncovered for 20 to 25 minutes until the cheese is fully melted and bubbling. For a golden, slightly crisp cheese crust, slide it under the broiler for the last 2 minutes.
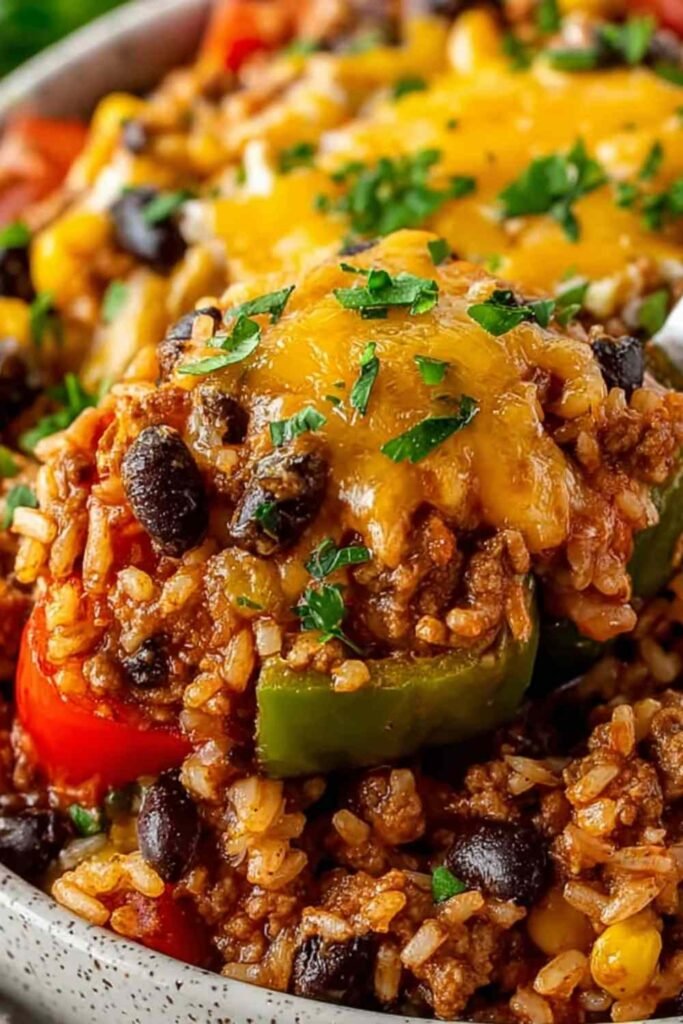
Step 7: Let it rest for a few minutes before scooping. Top with fresh parsley or cilantro and serve hot.
Perfect Pairings for High Protein Unstuffed Peppers
This dish is hearty and well-seasoned on its own, so the best sides bring freshness and lightness to balance out the bold Tex-Mex flavors.
Crisp Green Salad: A simple salad with a bright vinaigrette cuts through the richness of the cheese and adds freshness to the plate. This Mediterranean Chickpea Salad with Lemon Vinaigrette is a great protein-forward option that pairs naturally here.
Greek Yogurt Dollop: A spoonful of plain Greek yogurt on top works like sour cream but adds extra protein to an already high-protein dinner. It cools the heat from the spices and adds a creamy contrast.
Roasted Cauliflower: A lightly seasoned roasted vegetable side keeps the meal low-effort and adds fiber alongside the saucy filling. Try this Crispy Oven Roasted Cauliflower for a side that takes almost no extra work.
Garlic Roasted Vegetables: A simple pan of roasted vegetables rounds out the plate beautifully. These Garlic Roasted Vegetables come together fast and complement the Tex-Mex spices without competing with them.
Sweet Potato Taco Bowl Base: If you want to stretch the meal further and add natural sweetness to contrast the savory filling, serve this over a base of roasted sweet potato. This Sweet Potato Taco Bowl idea translates perfectly here.
Ground Turkey and Peppers: Love the flavor combination in this dish? This Ground Turkey and Peppers recipe is another quick weeknight option worth bookmarking for your rotation.
Warm Tortillas: For a more filling family-style dinner, serve this with warm flour or corn tortillas so everyone can scoop and wrap as they like. Kids especially love building their own portions this way.
How to Store and Reheat High Protein Unstuffed Peppers
Store leftovers in an airtight container in the refrigerator for up to 3 days. Let the dish cool completely before sealing to avoid condensation from making the filling watery. For longer storage, portion into freezer-safe containers and freeze for up to 3 months. Label each container with the date.
Pro tip: reheat individual portions in the microwave covered with a damp paper towel to keep the filling from drying out. For larger portions, cover with foil and warm in a 350 degree F oven for about 15 minutes until heated through.
I recommend making the full filling ahead on Sunday and refrigerating it unbaked in the dish. When you are ready to eat, add the cheese on top and bake fresh. The whole thing comes together in under 30 minutes that way, which makes weeknight dinner feel almost effortless.
FAQs
Can I make this recipe gluten-free?
Yes. Simply use quinoa instead of brown rice. All other ingredients in this recipe are naturally gluten-free, but always check your canned goods and spice blends for any hidden additives that may contain gluten.
Can I skip the rice or quinoa to lower the carbs?
Absolutely. Leave out the grain and add extra black beans or an additional diced bell pepper for volume. The filling will still be thick, flavorful, and satisfying without it.
Can I prep this ahead of time?
Yes. Assemble the entire dish including the cheese topping, cover tightly with plastic wrap, and refrigerate for up to 24 hours before baking. Add about 5 minutes to the bake time if it is going into the oven cold from the fridge.
Conclusion
High Protein Unstuffed Peppers are the kind of dinner that checks every box on a busy night. Easy to make, packed with real nutrition, and flexible enough to work with whatever you have on hand. Try it this week and watch it become a regular in your dinner rotation. You will be glad you did!
High Protein Unstuffed Peppers
Ingredients
Equipment
Method
- Preheat oven to 375 degrees F with the rack in the center position.
- In a large skillet over medium-high heat, cook the ground turkey or beef breaking it into small crumbles for 5 to 7 minutes until thoroughly browned. Drain excess fat.
- Add diced onion and minced garlic to the skillet. Cook for 3 to 4 minutes until the onion is soft and translucent and garlic is fragrant.
- Stir in the diced green and red bell peppers. Cook for about 5 minutes until they begin to soften while still retaining slight crunch.
- Add the cooked rice or quinoa, drained diced tomatoes, black beans, corn, and all spices. Stir well and cook for 2 to 3 more minutes. Taste and adjust seasoning as needed.
- Transfer the filling into a baking dish or oven-safe skillet and spread evenly.
- Sprinkle shredded cheese evenly over the top. Bake for 20 to 25 minutes until the cheese is fully melted and bubbly. For extra golden cheese, broil for 2 minutes at the end.
- Remove from oven, let rest a few minutes, and garnish with fresh parsley or cilantro before serving.
")


")